ZSH on MacOS
Published: Thursday, Dec 01, 2022
- References
- Make ZSH a default shell on MacOS
- Install Oh My Zsh
- Define
agnostertheme - Update VSCode settings
Disclaimer: This post doesn’t have verbose “whys” only “hows”!
References
- Making ZSH default Shell in MacOSX
- ohmyzsh/wiki
- Nerd Fonts is a project that patches developer targeted fonts with a high number of glyphs (icons)
- How to set up an amazing terminal for data science with oh-my-zsh plugins
Make ZSH a default shell on MacOS
$ sudo chsh -s /bin/zsh
Changing shell for root.
and
$ chsh -s /bin/zsh
Changing shell for halyph.
Check version
$ zsh --version
zsh 5.8 (x86_64-apple-darwin20.0)
Install Oh My Zsh
sh -c "$(curl -fsSL https://raw.githubusercontent.com/ohmyzsh/ohmyzsh/master/tools/install.sh)"
Define agnoster theme
Open .zshrc and add the following line:
ZSH_THEME="agnoster"
Open iTerm2 and you will see this ugly prompt

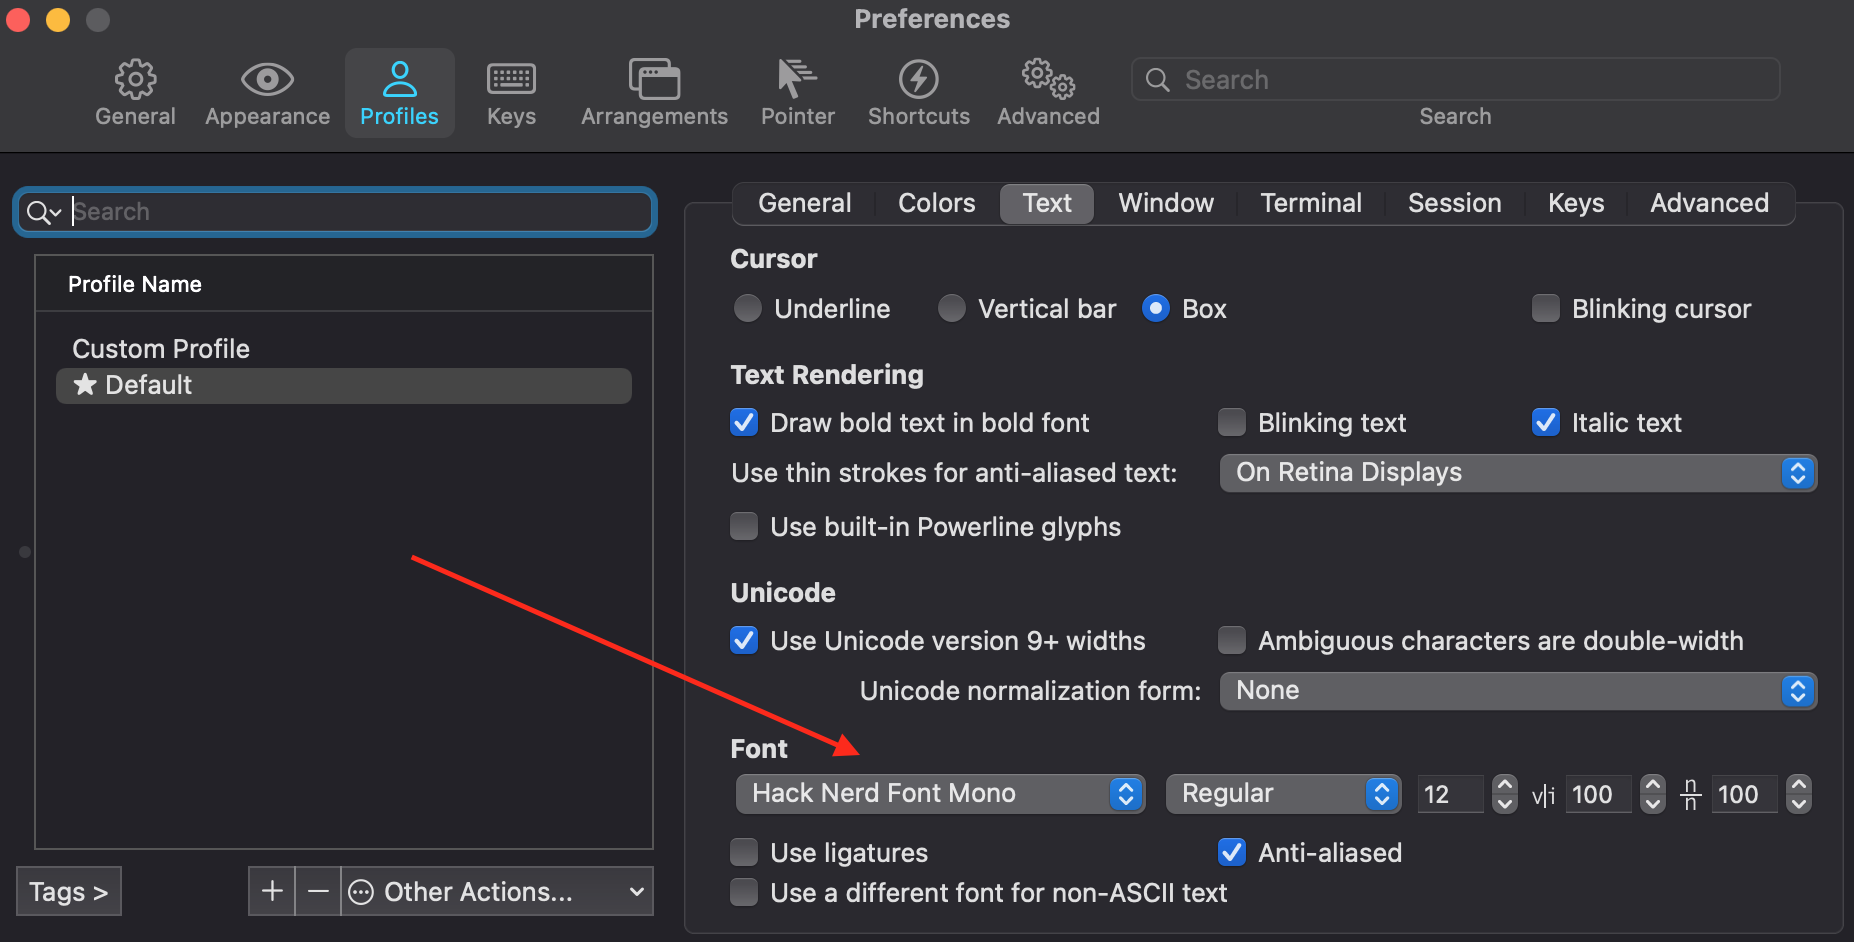
Update iTerm2 font
Install Nerd fonts (see Nerd Fonts - Homebrew installation)
brew tap homebrew/cask-fonts
brew install --cask font-hack-nerd-font
Open iTerm2 and update profile settings
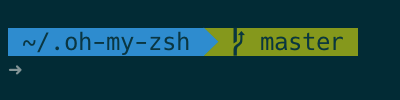
As you can see ugly ? symbols have been disappeared.

Update a prompt
The following changes must be added after source $ZSH/oh-my-zsh.sh line
- remove use name and laptop name
Add this line to .zshrc
DEFAULT_USER=$USER
- make PROMPT to occupy two lines and use
➜symbol as the bigging of a prompt
Add this function to .zshrc
prompt_end() {
    echo -n " \e[m\n➜%{%f%}"
}
So, now our prompt should look like this
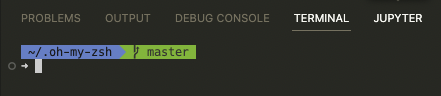
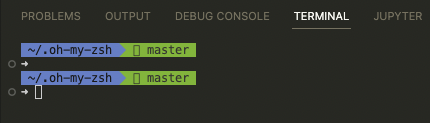
Update VSCode settings
Open VSCode terminal
These strange symbols can’t be rendered properly that’s why we should update related setting and adjust terminal’s font:
select and open in VSCode “Preferences: Open User Settings (JSON)” and add the following line to settings.json file:
"terminal.integrated.fontFamily": "Hack Nerd Font"
Now our VSCode termial looks much better